Motivation behind this
Since Salesforce is recommending to use Visual Studio Code (VS Code) IDE for future development platform and not going to support Eclipse IDE after few months, so I was trying to prepare VS environment for my development purpose.
I am already having Salesforce org which has classes, pages, triggers which I want to download in my local system, create a VS project with those files and want to create new classes or components and deploy those from VS Code environment from Salesforce Org.
I have gone through Quick Start: Visual Studio Code for Salesforce Development trailhead module, but it was not able to solve few issues which I have encountered with.
Here are the steps I have followed to setup and resolved all the issues. This might be helpful for others who has not even worked with Java-J2EE platform or never worked with Eclipse IDE.
Step by Step Approach
1. Install Visual Studio Code IDE from Visual Studio Code version 1.33 download.
2. Install Salesforce CLI which is powerful Command line interface.
4. Open Visual Studio and install Salesforce Externsion Pack, Salesforce CLI Integration, ForceCode extensions.
5. From Command prompt, sfdx COMMAND. If this command is not recognized by System then verify sfdx file is available under \Salesforce CLI\bin path
6. Edit "Path" environment variable and add full path of "\Salesforce CLI\bin".
7. If JAVA_HOME is not recognized then add JAVA_HOME and JDK_HOME in System variables.
Now, all environment related setup is done.
8 . Let's create a Project (before that create Folder inside Window Explorer), press CTRL + SHIFT + P , choose SFDX:Create Project from drop down menu
SFDX: Create Project
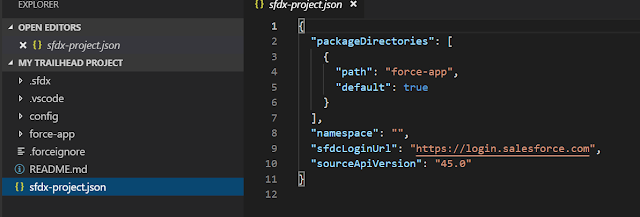
9. System will create project explorer like this
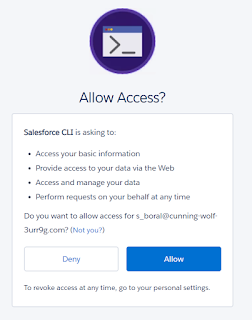
10. Now, let's connect this project with Salesforce org. Click on "No default Org Set" at the bottom or CTRL+SHIFT+P and type SFDX: Authorize an org
Choose, appropriate org, enter org's user name and press Enter, it will open a new webpage for entering username and password and ask you to authorize.
You will see following log details in VS IDE
Now, Let's download all the classes and components available in the org to our project.
Select the Project (For example My Trailhead Project) and Click on CTRL+SHIFT+P and choose ForceCode: Get Class, Page or Trigger.
Then choose all or respective components
Finally, all the selected components will be available in the project.
Let's try to complete this trailhead: Use Visual Studio Code for Salesforce Development
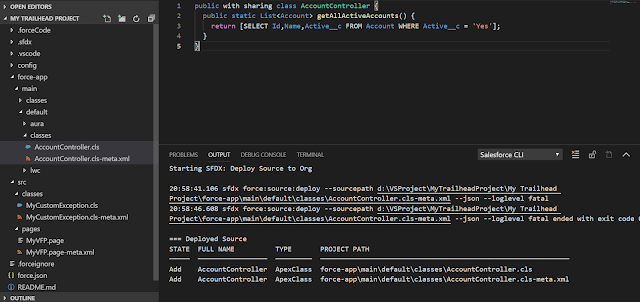
Create a new Class AccountController as mentioned in the trailhead and deploy that in the target org.
Finally, IDE is setup and working.


