Motivation behind this
I have been exploring B2B Commerce Lightning and thought of building the store using all the gifts/swags received/achieved from Salesforce.
I have attended sessions from Partner Learning Camp and extended the ideas like this way.
During this journey, Abdul Molla has helped me a lot which drives to write for all the Trailblazers who are interested to explore B2B Commerce Lex.
Basics to know
B2B Commerce Lightning has been developed on Experience Cloud, CMS, Flows, Lightning Web Components. So better to get familiar on those.
Before start configuring, following trailhead module will help to understand basics.
Possible End Results
The Storefront will look like this below and all the snaps are my own:

Refer the video on Store experience including checkout flow at the end of the post.

Refer the video on Store experience including checkout flow at the end of the post.
Steps to follow
We will go step by step as I have shown in following diagram.

Pre-requisite
Before starting to configure the storefront, complete all the steps following my previous blog Administering B2B Commerce Lightning at Developer Edition
High Level B2B Commerce Lightning Experience
I have extended the data model as depicted in B2B Commerce on Lightning Experience Data Model and created an experience model as follows.
For easy reference, the color coding of this model and flow steps have been kept as same as possible.

Let's get started.
1. Create Product, Price Book and Price Book Entries
a) In the Product object, add Trailblazer Goodies as Product Family picklist value
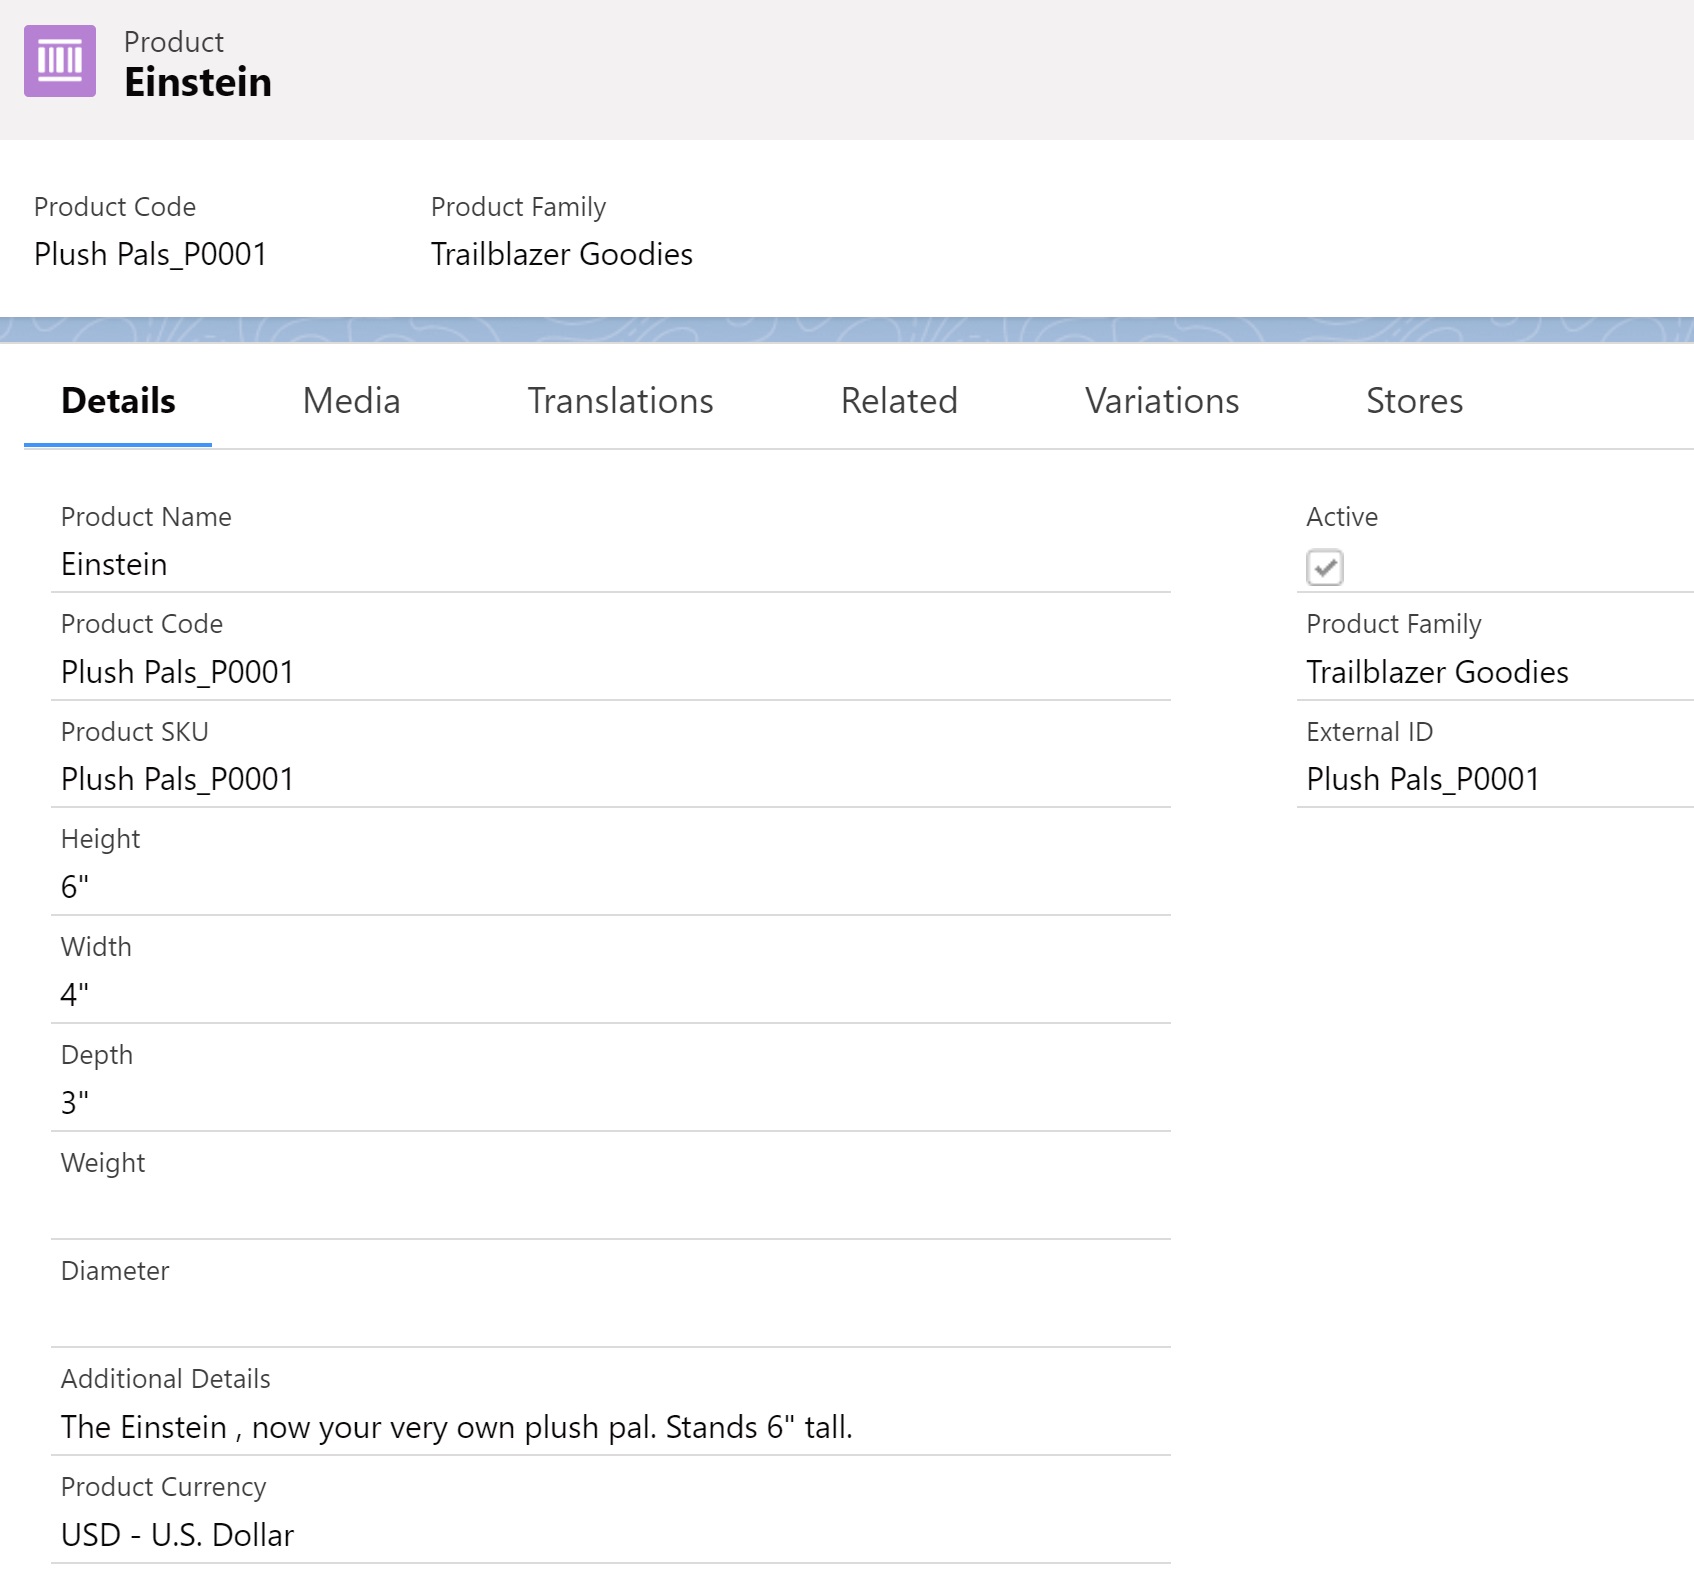
b) Create a new Product as follows and assign it to Trailblazer Goodies Product Family. For Example: Einstein. You can open Product screen from Commerce App -> Product Workspace
c) Create Price Book called US Price Book and Add Products into it.

2. Load Content into CMS
a) Go to Salesforce CMS App and Create CMS Workspace naming Trailblazer Goodies Store and follow the next steps as default.

In the language tab, select English and make that default. Final Review Screen as follows:


From Commerce App -> Product Workspace -> Choose a Product -> Product Detail Page -> Click on Media Tab

Click on Add Image and choose as below:
Click on Add Image and choose as below:

d) Create few more product either manually or through data loader, associate them with price book and assign media content. Here is an example:

3. Create a Store
From Commerce App -> Create a Store -> Choose B2B Commerce Template and click on Get Started

Name it as Trailblazer Goodies Store

It will take few moments to create and finally, we will be landed to Store Home Page.

4. Let's map Community and CMS Channel
a) Click on Experience Builder
Go to Security & Privacy
- Make Security Level to Relax CSP
- Add trusted site if anything is needed.

b) Assign Permission Set
Go to Administration -> Members -> Assign Account Switcher User, Buyer and Buyer Manager Permission Sets.

c) Assign Role to your user

d) Assign Trailblazer Goodies Store as Channel. Follow following steps:
- Switch to Salesforce CMS and click on CMS Workspace
- Open Trailblazer Goodies Store record
- Click on Channels button
- Add a Channel

5. Create Catalog and Categories
a) From Commerce App -> Catalogs
b) Create a new Catalog naming Trailblazer Goodies
c) Create a Category naming Plush Pals

Similar way we can create categories like: Travel and Drinkware.
6. Add Products to Categories
a) From Commerce App -> Product Workspace -> Product Detail -> Categories -> Assign

b) Similarly, add rest of Products to respective Categories. It will look like this:

7. Configure Account, Contacts and Buyer Groups
a) Create a new Account naming Trailblazer Account and Enable it as Buyer

Find the following details on Account Detail Page:

b) Create a Contact under Trailblazer Account, let’s say John Smith and provide your email address.
c) Few more things to do on Contact as follows:
- Edit Contact Page Layout and add Enable Customer User action

- From John Smith Contact record, click on Enable Customer User to create a user
- During user creation choose Customer Community Plus as license
d) Create Buyer Group from Commerce App and name it as US Buyer Group
e) From Buyer Group Related List, assign Account as Buyer Group Member

8. Associate Catalog, Buyer Group and Price Book with Store
a) From Commerce App -> Stores -> Trailblazer Goodies Store
b) Assign Catalog i.e. Trailblazer Goodies with this Store
c) Assign Buyer Group i.e. US Buyer Group with this Store
d) Assign Price Book i.e. US Price Book with this Store

9. Define Commerce Entitlement Policies
a) Create Entitlement Policy from Commerce App naming US Buyer Entitlement Policy as follows.

Be sure to choose View Products and View prices in catalog.
b) Assign Products and Buyer Groups to this Entitlement Policy from the Related List.

10. Build Search Index
a) From Store -> Build Your Search Index -> Go to Search (refer the screen at point no. 8)
b) Add Product Family as Filter

c) From Search Index Summary -> click on Rebuild Index
Note: If you add products, categories, price be sure to Rebuild Index to reflect them on Storefront.
11. Customizing Experience Builder Components
a) Customizing Product Detail Page
Open Builder, select Product Detail Page and drag Product Fields (short) on the layout and add desired fields

b) Add Product Detail Card on the layout.
c) Configure Checkout Flow
Choose checkout page -> select the Checkout Flow component -> Edit Flow in flow Builder

Choose Checkout Flow Template and Save as “Trailblazer Checkout Flow” and from advanced -> Change How to run flow to “System Context with Sharing – Enforces Record-level Access”.

12. Register Reference Implementation Classes
a) Take following 4 classes from github
- B2BDeliverySample.apxc
- B2BCheckInventorySample.apxc
- B2BTaxSample.apxc
- B2BPricingSample.apxc
b) Add Remote Site Settings for https://b2b-commerce-test.herokuapp.com
c) Register classes:
- API version will be 52.0 (check the version from your org)
- Replace the code as follows taking help from this documentation
- Run the code at Developer Console in Execute Anonymous mode
|
apexClassName |
registeredProviderType |
registeredDevName |
|
B2BPricingSample |
Price |
COMPUTE_PRICE |
|
B2BCheckInventorySample |
Inventory |
CHECK_INVENTORY |
|
B2BDeliverySample |
Shipment |
COMPUTE_SHIPPING |
|
B2BTaxSample |
Tax |
COMPUTE_TAXES |
- Confirm to check if those are registered running the following SOQL query
SELECT Id, ExternalServiceProviderId, ExternalServiceProviderType, DeveloperName FROM RegisteredExternalService WHERE DeveloperName in ('COMPUTE_PRICE','CHECK_INVENTORY','COMPUTE_SHIPPING','COMPUTE_TAXES')
Query Results as follows:

d) Map Store Integration Services
From Commerce App -> Store -> Administration Tile
Link all of classes as Registered External Services.
|
Section |
Mapping |
|
Store Inventory |
CHECK_INVENTORY |
|
Shipping Calculation |
COMPUTE_SHIPPING |
|
Tax Calculation |
COMPUTE_TAXES |
|
Price Check |
COMPUTE_PRICE |
After registering it will look like this:

13. Activate Store
Finally, from Commerce App -> Store -> Administration Tile -> Store activation.

We are done on setting up with all configurations.
Let's Test this!
Open Contact records (John Smit) and from drop down action click on Log in to Experience as User.
Follow this video to view the Store, different categories and complete a checkout flow.
Happy Learning and thanks to read this!
Order Tapentadol 100 Mg Online
ReplyDelete