Motivation behind this
I have been exploring B2B Commerce Lightning since last year through Partner Enablement program designed by Salesforce. Right now, Salesforce is enabling partners through Partner Learning Camp and there are many courses available including B2B Commerce Admin and Developer.
Recently, B2B Commerce license is available at any Developer Edition which drives to me to build a website.
For purpose of building this website, I have taken few snaps of the goodies which I have received/achieved from Salesforce which can be a get start to build this.
During this journey, Abdul Molla has helped me a lot which drives to write for all the Trailblazers who are interested to learn B2B Commerce.
Lets' get started.
Basics to know
B2B Commerce Lightning has been developed on Experience Cloud, CMS, Flows, Lightning Web Components. So better to get familiar on those.
Before start configuring, following trailhead module will help to understand basics.
Steps to follow
We will go step by step as I have shown in following diagram.
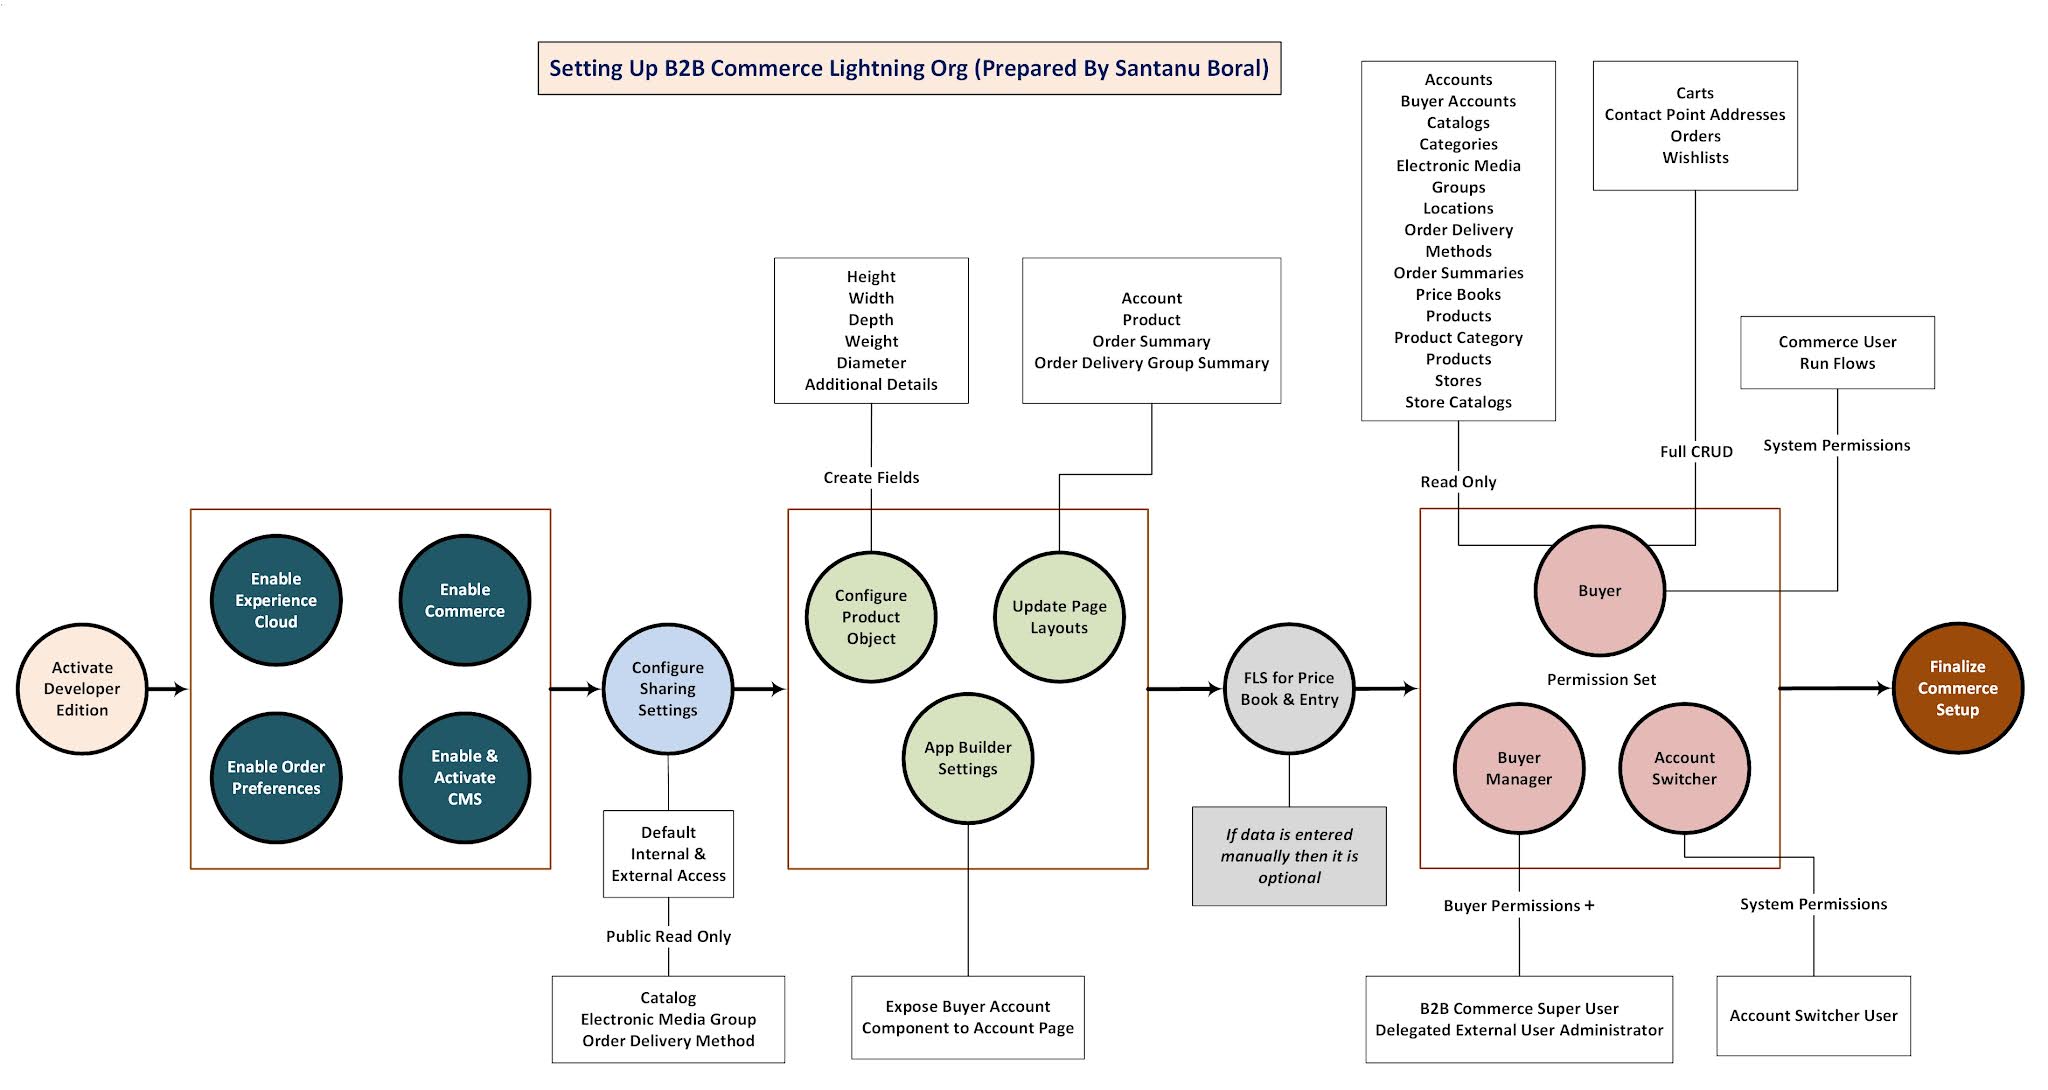
For easy reference, color of each heading below will match the color of symbol of above picture.
1. Sign up a Developer Edition
Follow this link
2. Enable Experience Cloud
a) From Setup à Digital Experiences, enable Experience Cloud and create a domain.


3. Enable Commerce
From Setup, you can reach here to enable commerce. This is heart of B2B Commerce.

4. Enable Order Preferences
From Setup, reach Order Settings and choose Enable Enhanced Commerce Orders. Choose other 2 options as shown in picture.

4. Enable & Activate CMS
a) Edit System Administrator profile and choose Salesforce CMS at Custom App Settings section.

b) Go to Tab Setting Section and make following tabs as Default On for these 4 CMS items:
- CMS Home
- CMS Channels
- CMS Experiences
- CMS Workspaces
c) Make following tabs to Default On too.
- Commerce Setup
- Buyer Group Price Books
- Buyer Groups
- Catalogs
- Categories
- Entitlement Policies
- Guest Buyer Profile
- Price Adjustment Schedules
- Pricing Workspace
- Product Workspace
- Store Price Books
- Stores
- Order Summaries
d) Verify CMS
From App Launcher open Salesforce CMS App and verify tabs.

5. Configure Sharing Settings
Sharing Settings, make Default Internal Access and Default External Access to be Public Read Only for:
- Catalog
- Electronic Media Group
- Order Delivery Method
6. Configure Product Object
Create following Custom fields in Product and assign it to Customer Community Plus User.
- Height
- Width
- Depth
- Weight
- Diameter
- Additional Details
7. Update Page Layouts
a) Product Page Layout
- Product SKU field to be added in layout
- Categories and Commerce Entitlement Policies to be added in related list
b) Order Summary Page Layout
Keep only Start Reorder action at at Salesforce Mobile and Lightning Experience Actions section and remove others.

c) Order Delivery Group Summary Page Layout
Add Product Name as column in Order Product Summaries Related List

d) Account Page Layout
- Add Community Members and Contact Point Address as Related List
- Enable as Buyer actions to be added in Salesforce Mobile and Lightning Experience Actions

8. App Builder Settings - Account Record Page
Choose any Account record and edit Page, drag Buyer Account component to the page layout.

9. Field Level Security for Pricebook and PriceBookEntry
a) Create ExternalId field (ExternalId__c) at PriceBook object and make is visible to Customer Community Plus user
b) Navigate to Standard Price Book record and update ExternalId = standardpricebook and Active=true
(You can create a new List View to see list of price book records)

c) Create ExternalId field (ExternalId__c) at PriceBookEntry object and make is visible to Customer Community Plus user
This is needed if we load data through dataloader and if pricing is available from outside of Salesforce.
10. Permission Sets for Buyers, Buyer Managers and Account Switchers
a) Buyer Permission Set
- Create permission set name as Buyer and assign Customer Community Plus license

- Assign Read access to following objects:
- Accounts
- Buyer Accounts
- Catalogs
- Categories
- Electronic Media Groups
- Locations
- Order Delivery Methods
- Order Summaries
- Price Books
- Products
- Product Category Products
- Stores
- Store Catalogs
Here is an example:

- Assign Full CRUD access to following objects:
- Carts
- Contact Point Addresses
- Orders
- Wishlists
- For Contact Point Address object, assign Read permission to all fields.

- Assign System Permissions
- Commerce User
- Run Flows

b) Buyer Manager Permission Set
- Clone Buyer permission set and name it as Buyer Manager.
- From System Permissions, choose B2B Commerce Super User
- From App Permissions, choose Delegated External User Administrator
b) Account Switcher Permission Set
- Create a new permission set called Account Switcher and assign Customer Community Plus license
- In the System Permission section, choose Account Switcher User
11. Finalization of Commerce Setup
a) Enable Data Translation and Multi-Currency from Company Information
b) Field Accessibility -
- From Setup -> Field Accessibility -> Select Order object -> View By Fields -> Choose Sales Store
- Select System Administrator profile to make it visible

- Commerce Setup from App Launcher and verify this

- Install 3 out-of-box reports clicking on Commerce Setup
- Average Order Value
- Orders By Date
- Total Orders

That's all. Thanks for your patience to complete.
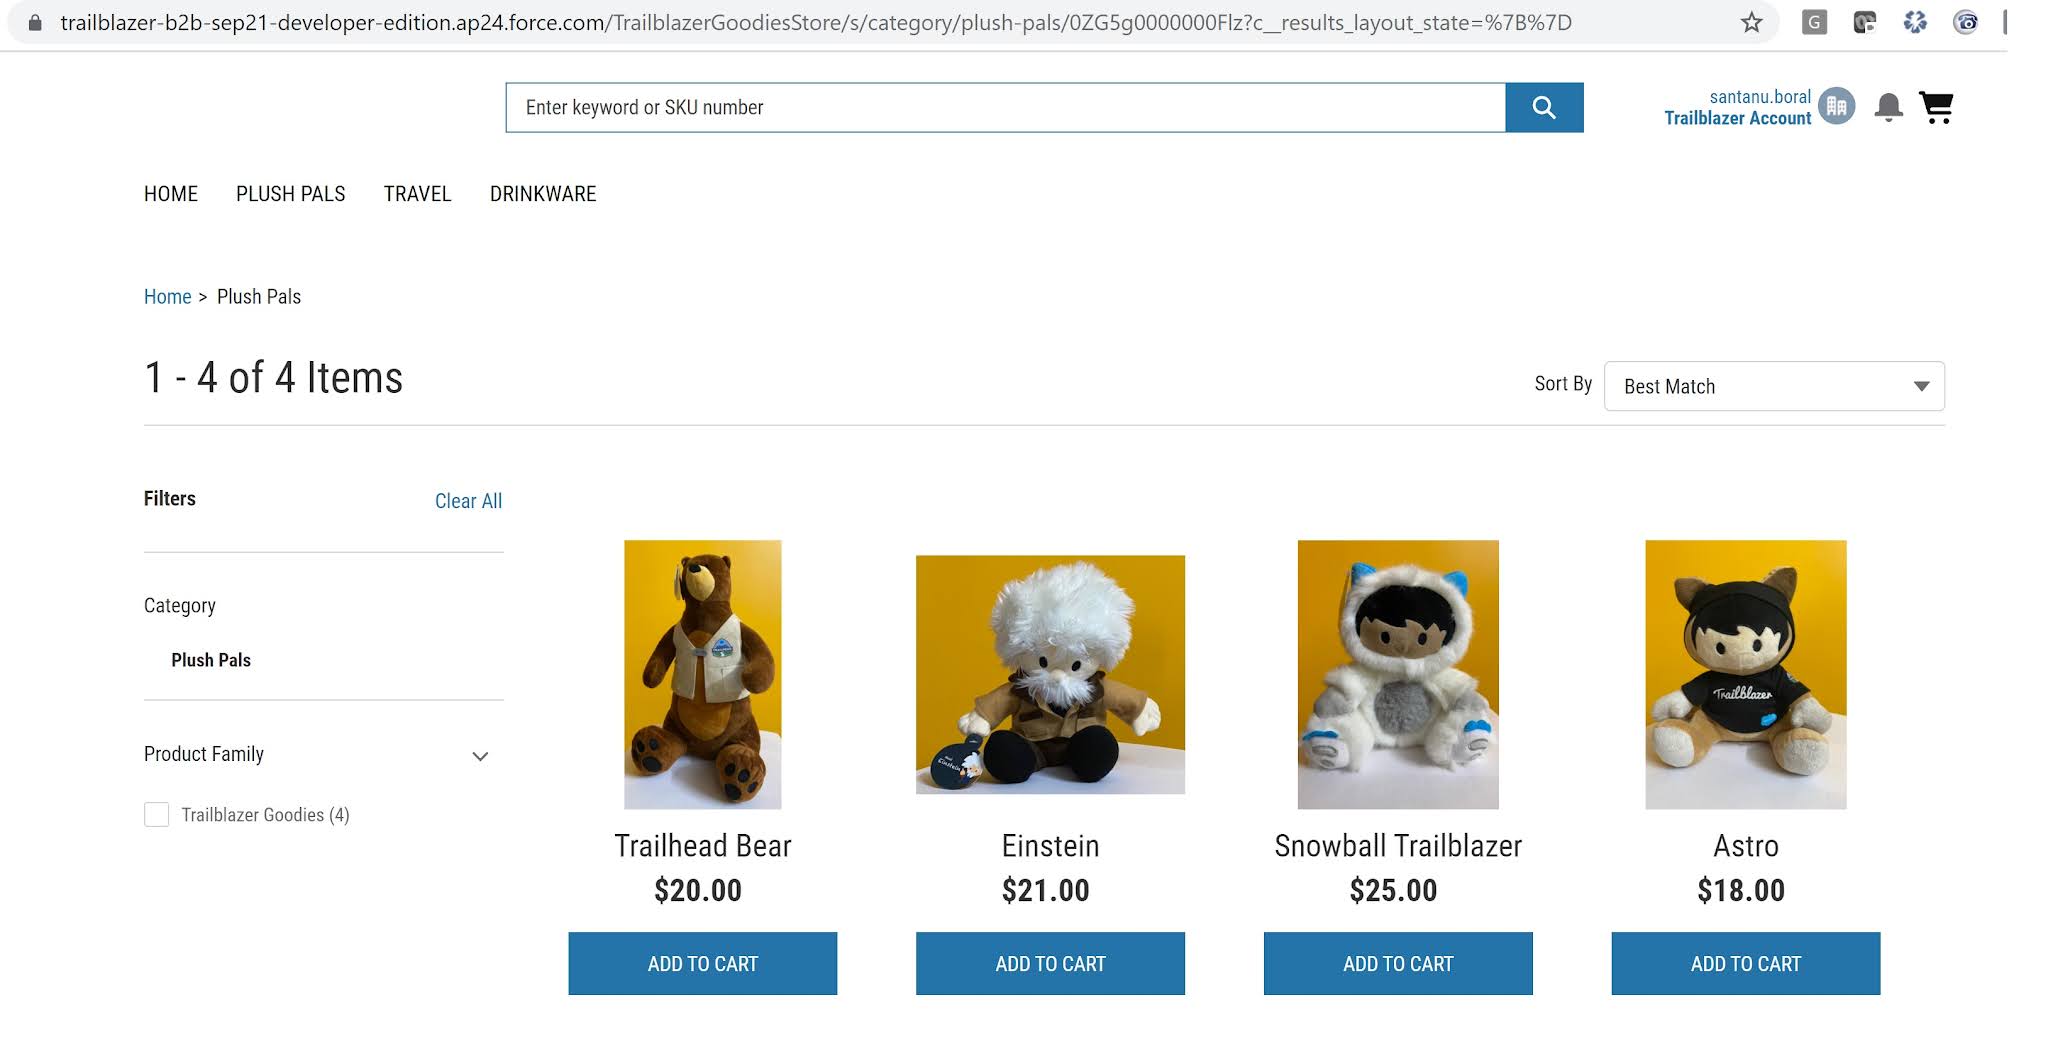
In the next post, we will Configure the Store and complete checkout process which will look like this:
Happy Learning!
CMS Development
ReplyDeleteNice post. I would like to thank you for the efforts you have made in writing this interesting and knowledgeable blog.
ReplyDeleteSocial Media Marketing Company India
PPC Company in India
State & Central Subsidy Legal Services Iso Certification Services in ahmedabad Gandhinagar
ReplyDeleteState & Central Subsidy Legal Services Iso Certification Services in ahmedabad Gandhinagar. All Type ISO Registration and Global or International Companies with business interest in India.
Buy Tramadol 100 mg Online
ReplyDeleteThanks for sharing. We appreciate the information you have provided in this post. Please feel free to contact us if you are searching for the Best PPC Company in India.
ReplyDelete